The majority of the worlds’ website is hosted on apache web-server. It is the most powerful server with features like robust media support and extensive integration with other popular software
In this article, we will explain to you how to install an Apache web server on Ubuntu server. So let’s get started 🙂
Step #1 : Installing Apache web-Server
Before installing Apache web server update your local repository, since apache is already available on our repository by default, you just need to run the command as follows;-
sudo apt-get updateTo Install apache2 package
sudo apt-get install apache2video url https://www.youtube.com/watch?v=lYA2Te5XA84
Step #2 : Check your Apache web-Server Status
sudo systemctl status apache2Sample Output
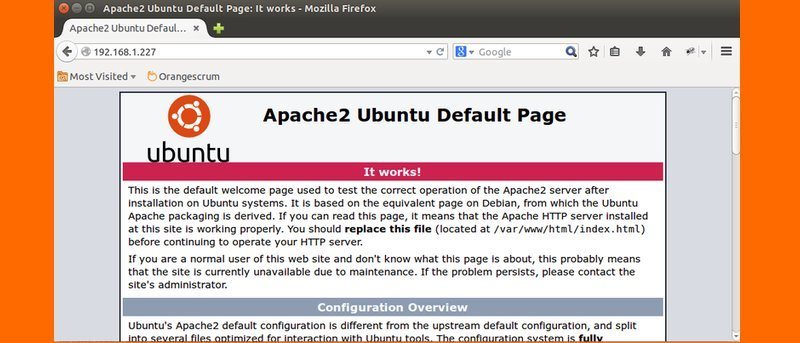
Access the landing page for in your browser for confirmation
http://your_server_ip
You will see the default apache2 landing page like this-
Step #3 Setup Virtual Host
By default apache2 directory is /var /www/html , if you want to host any website then go to that directory and save your projects there in order to host your project on the web
Open the following directory to make a new virtual host file at /etc/apache2/sites-available/example.com.conf:
sudo vi /etc/apache2/sites-available/example.com.confPaste the following VirtualHost Configuration
<VirtualHost *:80>
    ServerAdmin admin@example.com
    ServerName example.com
    ServerAlias www.example.com
    DocumentRoot /var/www/example.com/html
    ErrorLog ${APACHE_LOG_DIR}/error.log
    CustomLog ${APACHE_LOG_DIR}/access.log combined
</VirtualHost>
Save and close the file you are almost done!
Enable the file with a2ensite:
sudo a2ensite example.com.conf
Disable the default site defined in 000-default.conf:
sudo a2dissite 000-default.conf
Test for configuration errors:
sudo apache2ctl configtest
You should see the following output:
Output
Syntax OK
Restart Apache web server
sudo systemctl restart apache2All done now apache will serve your domain!!
